“These days I felt my Android Phone run slower than it was. To speed it up, I decide to format it. But I have no idea how I can do with it. Is there any way to format an Android phone? And what should I do before performing the format?”
You are not the only one who encountered the issue. Here, I will provide a brief guide about it. I hope it can get you out of the trouble.
What You Should Do Before Formatting a Phone
It is known to us all that the format is a process of deleting everything. The strongest suggestion is to backup your important data before considering the format process. Otherwise, it would bring you great difficulties. To achieve the best result, you can choose the professional data backup software. Then you can proceed with the format process.
3 Top Ways to Format an Android Phone
Talking about formatting phone, there are several ways available. Let’s discuss which one is the best among them here.
1Format an Android Phone with iMyFone LockWiper (Android)
iMyFone LockWiper (Android) is the best savior for locked Android phones. It is capable of instantly removing the Android lock screen without entering a password, meanwhile erasing everything on the phone. With the help of LockWiper (Android), you’ll find it has never been so easy to format an Android phone.
Features of iMyFone LockWiper (Android):
Wipe out everything completely on the Android phone during the unlocking process.
Remove all kinds of Android lock screens: PIN, pattern, password, fingerprint and face lock, etc.
Save you from all the troubles no matter you forgot screen password, broke your device screen or were stuck with FRP.
Support more than 6000 devices namely as Motorola, Samsung and Huawei, etc.
Bypass Google FRP lock and let you take full control of your device.
Steps to Format Android Phone with LockWiper (Android)
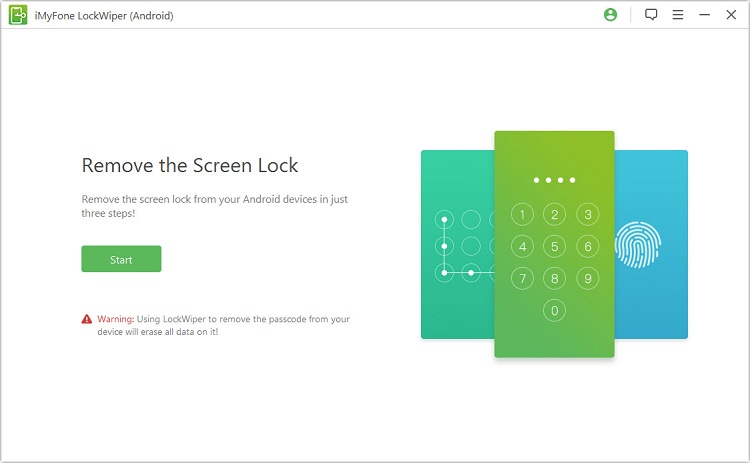
Step 1: Connect Your Android Device:
Launch the iMyFone lockWiper(Android) on your computer. After that, select the Remove Screen Lock mode. Click on Start, and connect your device to the computer.
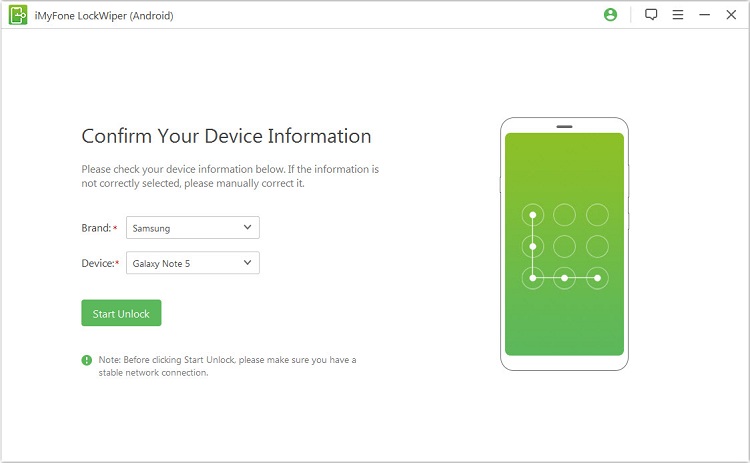
Step 2: Confirmation Properly for the Device Information
Your Android device info will be detected automatically. Make sure that the device's name is correct, if not, please correct it manually.
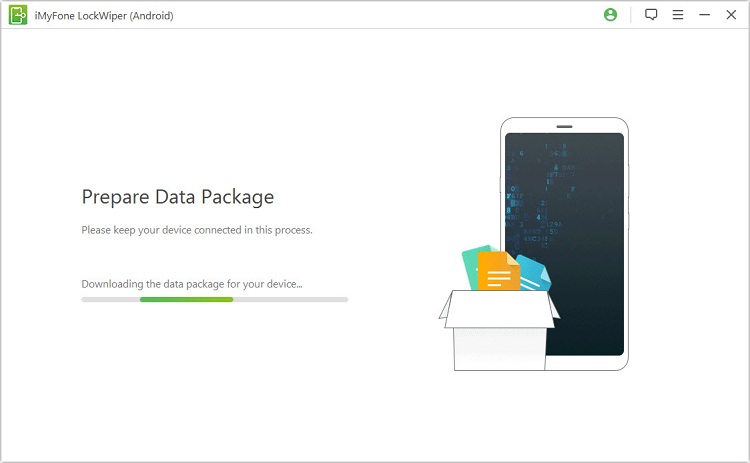
It takes a few minutes to prepare the data package, please wait for it patiently.
Step 3: Unlock the Screen Lock
Follow the instructions displayed on the screen to reset your device. After that, the program will commence the screen unlocking process.
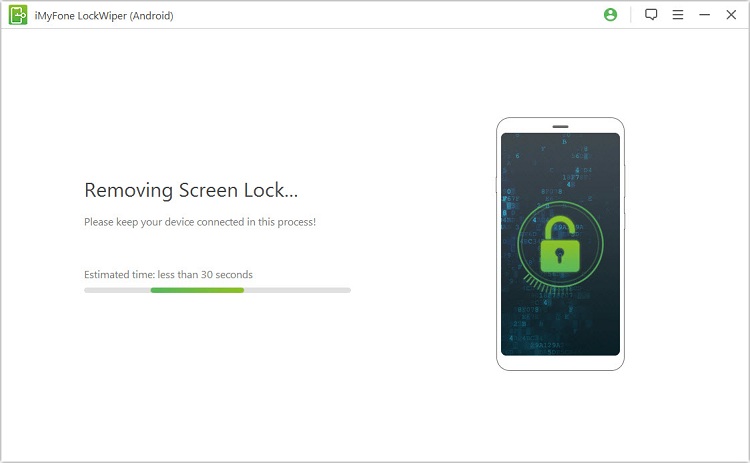
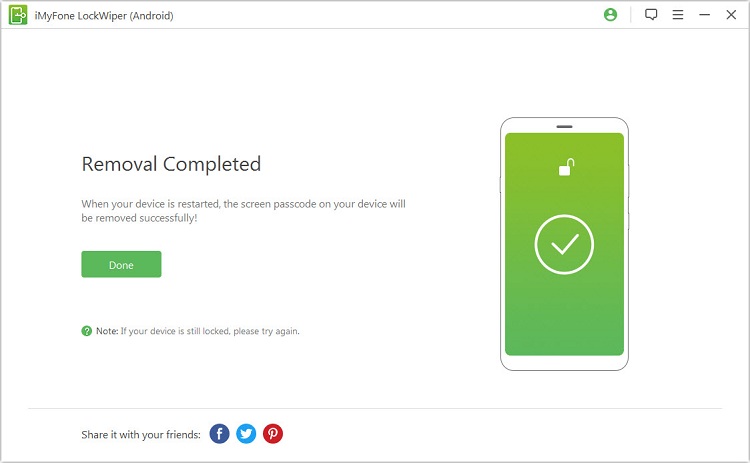
When you get a congratulation message, it means that your screen lock is removed successfully and you’ve formatted the phone completely.
2Format an Android Phone in Recovery Mode
An Android user has many choices for formatting the mobile phone. Booting your device in the recovery mode is one of these. Here I am mentioning the instructions in detail:
Step 1: Switch off your device and then press the power and volume down button.
Step 2: With the help of volume down key, you can choose the Factory Reset or Wipe Data from the given option, after that press the power button for confirming your option.
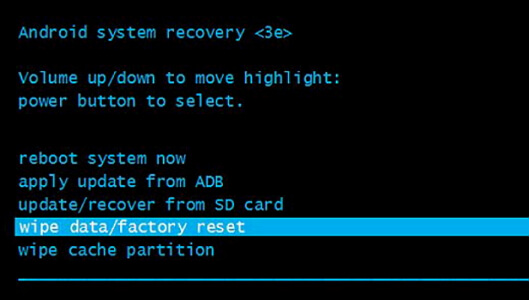
Step 3: When the reset process is finished, the device will automatically restart then you’ll find that all the files are wiped out on your android device.
3Format an Android Phone through Setting Menu
You can easily erase the phone data through setting menu and take your device back to the state of factory settings. Simply keep in mind that through this you won’t defect your phone. Just follow the steps below:
Step 1: Click on the Menu and open Settings.
Step 2: Select the System then Backup & reset option.
Step 3: Scroll down in the end and click on Factory Data Reset.
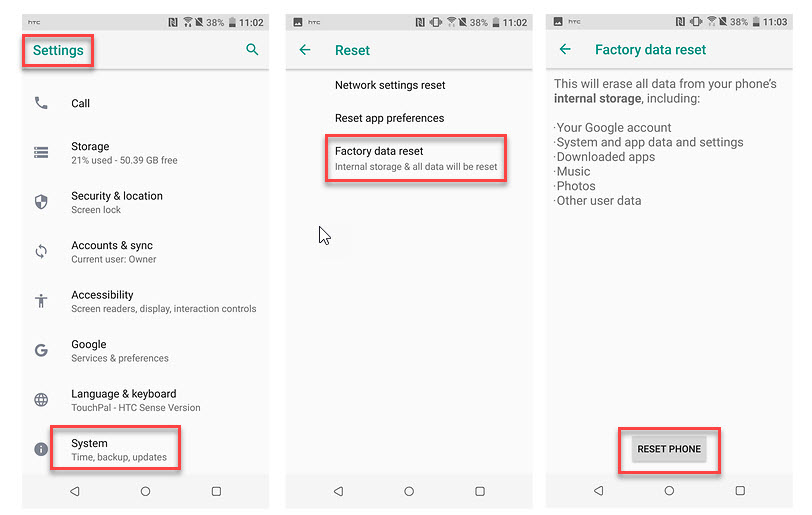
Step 4: Confirm all the information and click on Reset Device.
Wait for the process to complete and you’ll have a clean phone again.
Part 3: How to Backup an Android Phone
Backup Photos and Videos with Google Photos App
It seems that it is easy to back up your photos & video with the help of Google Photos apps.
Step 1: Open the photo app that resembles a pinwheel.
Step 2: Click on the options button that is available in the left corner of the screen.
Step 3: Open the Setting from the pop-out menu.
Step 4: Click on Back-up & sync.
Step 5: Click on the white Switch Back up & Sync. (if the switch is blue, it means that you’ve already back up your photos and videos to your Google account).
Backup to Google Drive
Step 1: Launch the Android Settings App.
Step 2: Scroll down to System and tap on it, then click on Backup.
Step 3: Tap on the Backup to Google Drive switch if it is white (blue switch means that your Google account is now backing up to Google drive).
Conclusion
Maybe you are stuck in the same situation. In the above content, I have briefly mentioned 3 methods. iMyFone LockWiper (Android) is the easiest although, you might have to turn to other options. Just follow the steps to format your phone with ease.


 January 2, 2024

