


User Guide of iMyFone D-Back for Android
D-Back (Android) comes with three recovery modes for you to choose from: Android Data Recovery, Broken Android Data Extraction and Recover Data from Google Backup.
The former two modes allow you to recover lost photos, videos, audios, WhatsApp messages& attachments, text messages, contacts, call logs, and documents from Android phones and tablets, even for broken Android devices. For the third mode, if you have backed up the Android data to your Google account, it is easy for you to selectively recover data from Google backup to your computer.
Part 1: Android Data Recovery/Broken Android Data Extraction
Step 1: Launch D-Back (Android) And Choose A Recovery Mode to Start
Download and launch D-Back (Android) on your PC, then select a recovery mode you needed to start. The steps to use these two modes are exactly the same, so we will take one of them as a example to show you the whole process. Let’s choose the ” Android Data Recovery” mode and go on.

Step 2: Select Your Device Information And Download Data Package
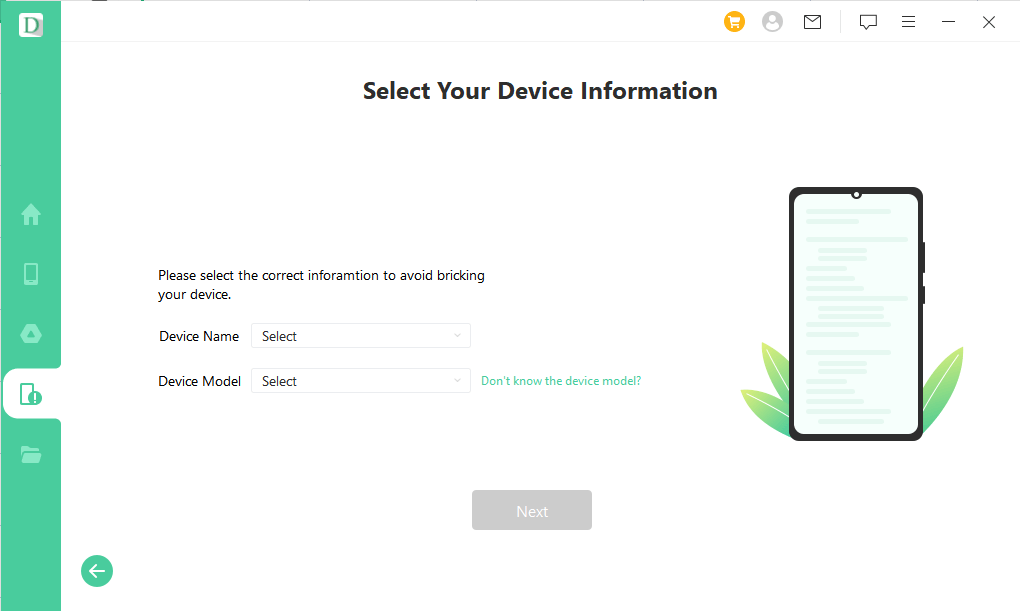
Click "Start" button on the “Android Data Recovery” tab, then the app will ask you to confirm if your device is Samsung. For the present version of this app only supports Samsung devices. Then you need to select the correct name and model of your Samsung in the list offered.
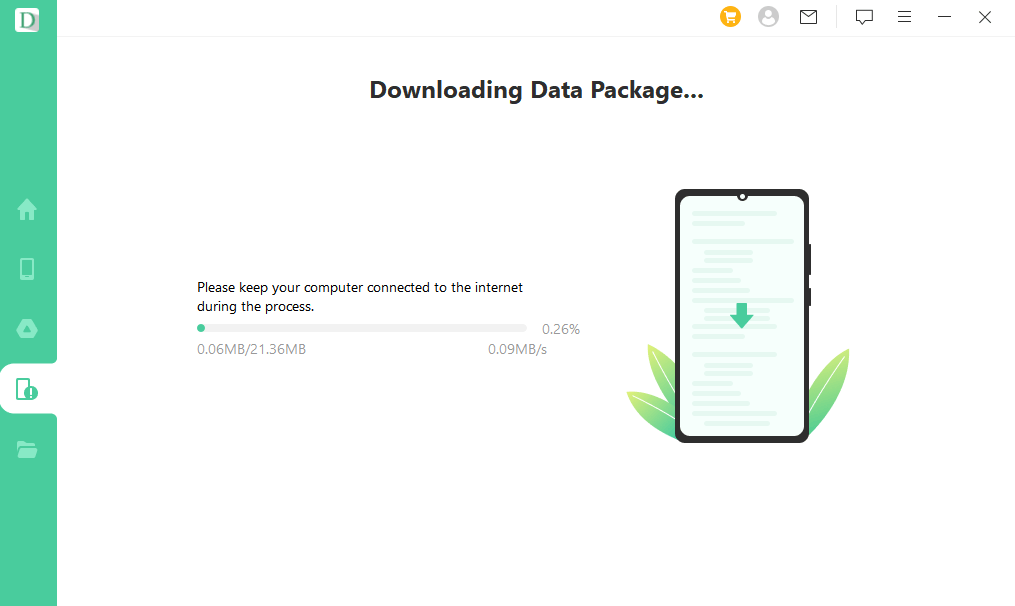
Next the app will automatically download the matching data package on your Android device. (Important: please keep your computer connected to the Internet during the process.)
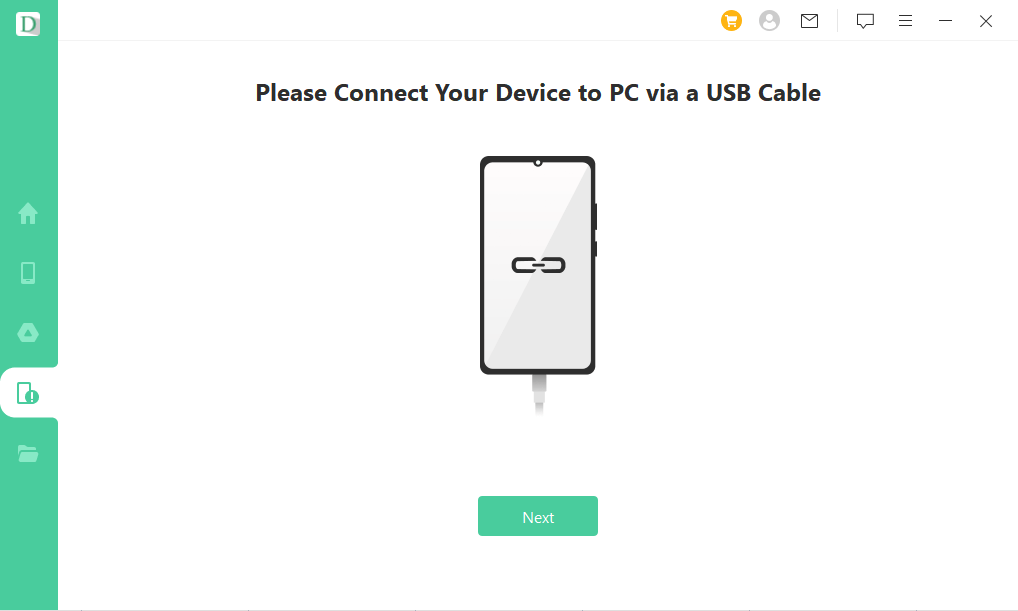
Step 3: Connect Your Android Device to PC And Enter Downloading Mode
After downloading the data package, you need to connect your Android device to PC using a USB cable. Then D-Back (Android) will guide you to put your device into Downloading mode in 3 simple steps.
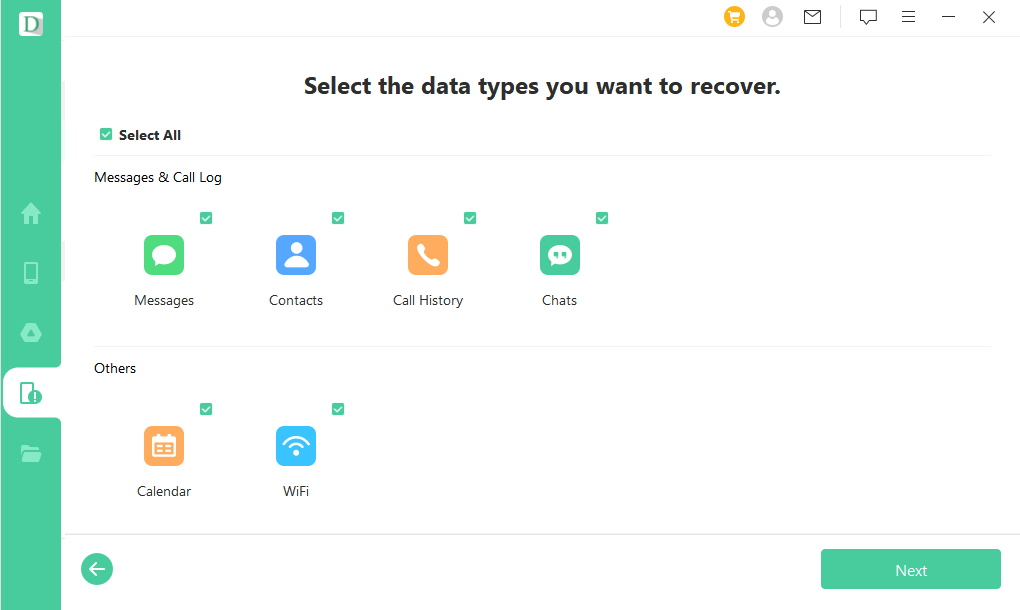
Step 4: Select The File Types and Scan
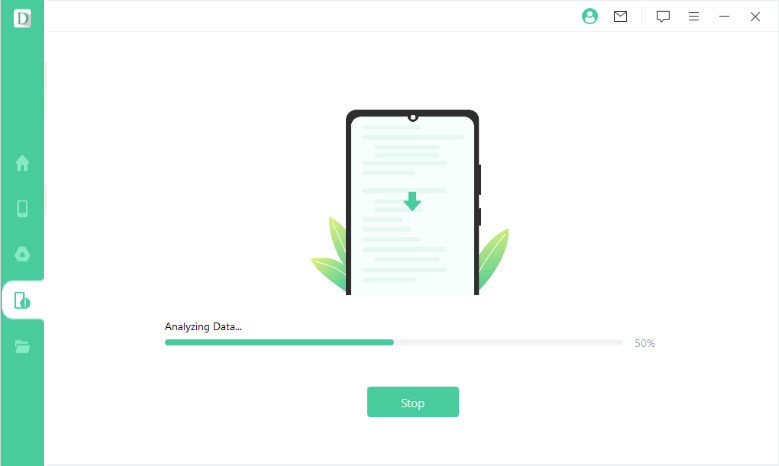
After the device is set in Downloading mode, the app will lead you to the recovery interface and choose the files types that you want to recover, then click "Recover" to analyze those files you selected.
As analysis process completes, it will begin scanning for your device.
Step 5: Choose Your Needed Files to Recover
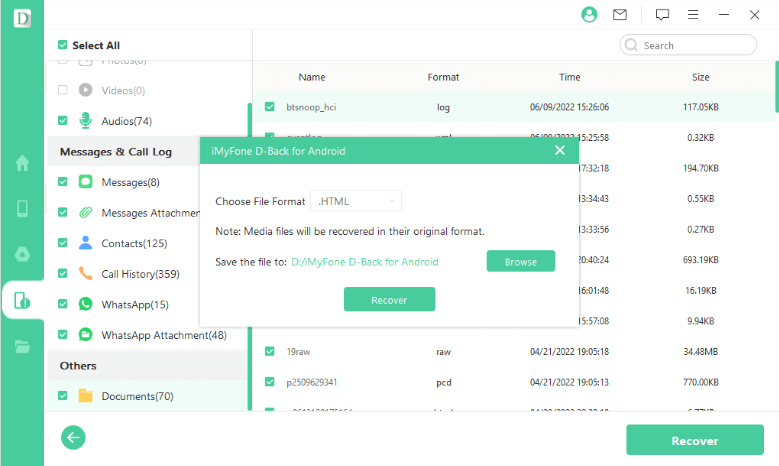
Then all the lost files on your Android phone/tablet will be listed in detail after scanning, so you can preview them and choose those certain files you need. After that, just click the "Recover" button to retrieve all the selected ones efficiently. Then all the recovered files will be saved on your computer, which is very convenient for you to copy them to another device.
Part 2: Recover Data from Google Backup
Step 1: Launch D-Back (Android) and Choose a Recovery Mode
After you launch D-Back for Android, you will be asked to select a data recovery mode. In this case, let’s select the Recover Data from Google Backup option on the main screen.
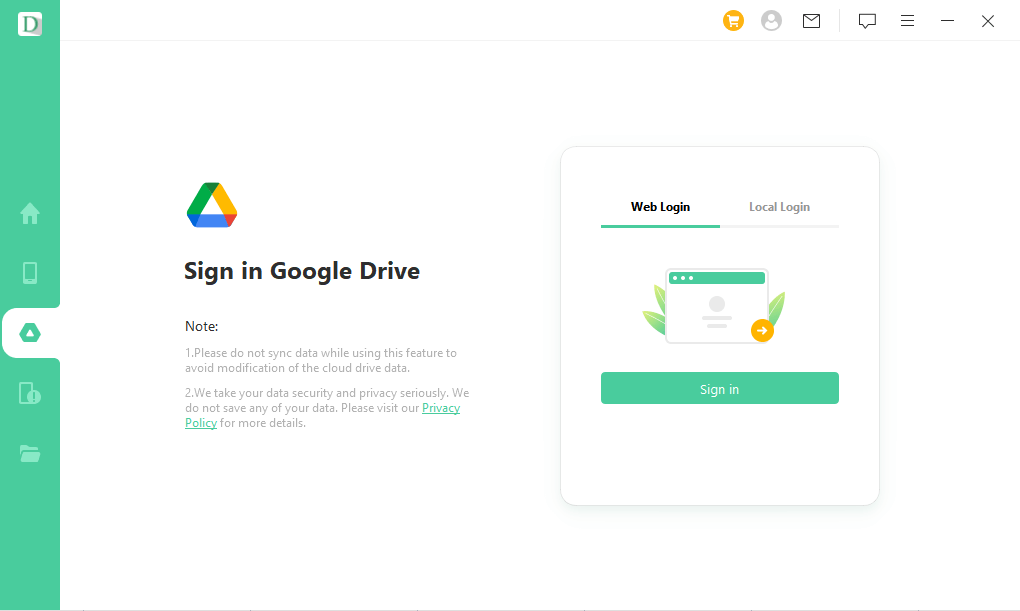
Step 2: Log in Google Account and Download Your Google Backup
Here, you will need to log in to your Google account. Make sure that the account sign-in details are correct and click Sign in. Please be assured that this process is completely safe and your account details will be protected.
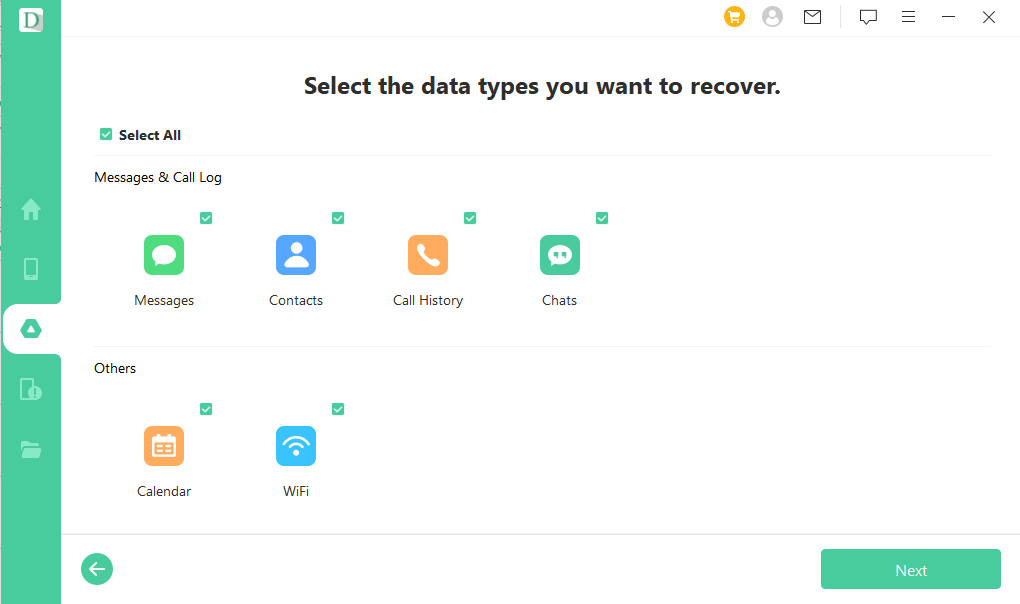
After successfully logging in to your Google account, the software will show a list of all the available data types that can be recovered from your Google account. Select the data type you would like to restore or check Select All. Then click Next in the lower right corner.
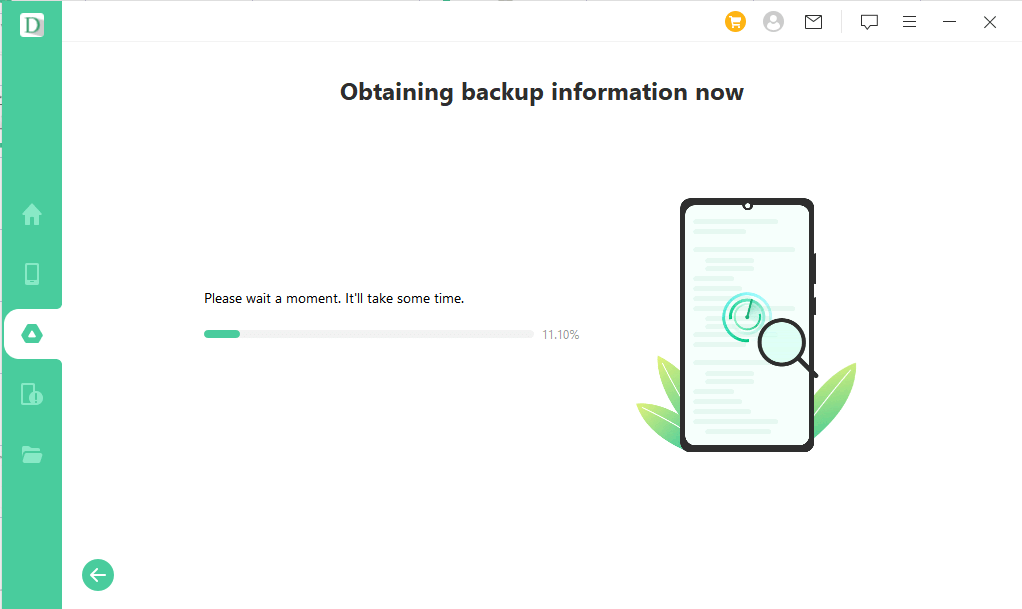
D-Back for Android will then begin scanning the data on your Google Account. It will take a while so please don’t disconnect your device while the scan is happening.
Step 3: Preview and Recover Data from Google Backup
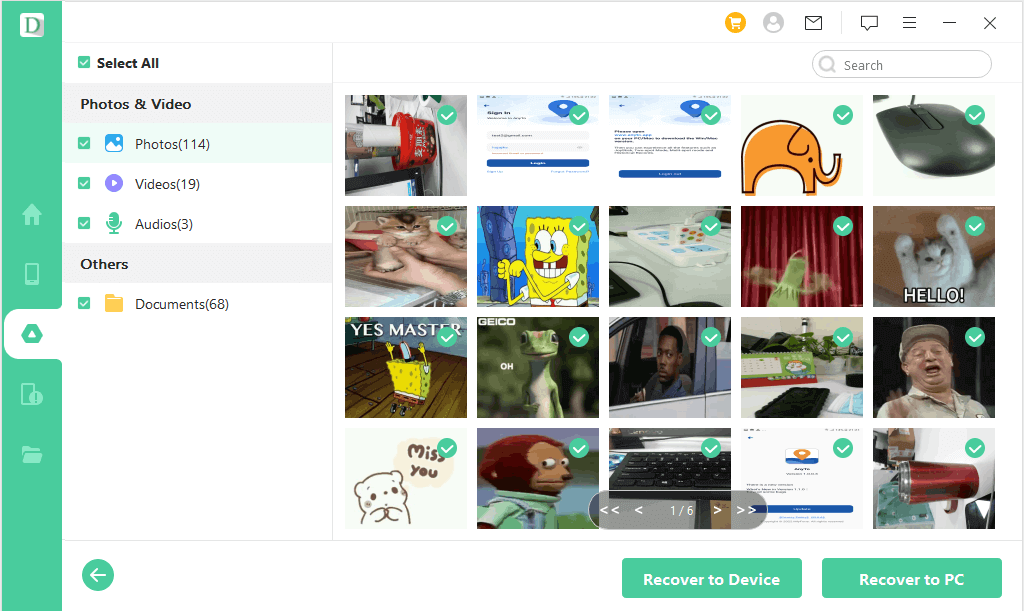
After the scan is finished, the recovered data will be listed in an organized manner. You can tick the boxes next to data types on the left panel and view your data on the right, or you can use the search bar to find specific data you want to recover. From here, select the data you want to extract and click the Recover button.
Still Need Help?
Go to Support Center >